Web Development
Project One
 View Project One
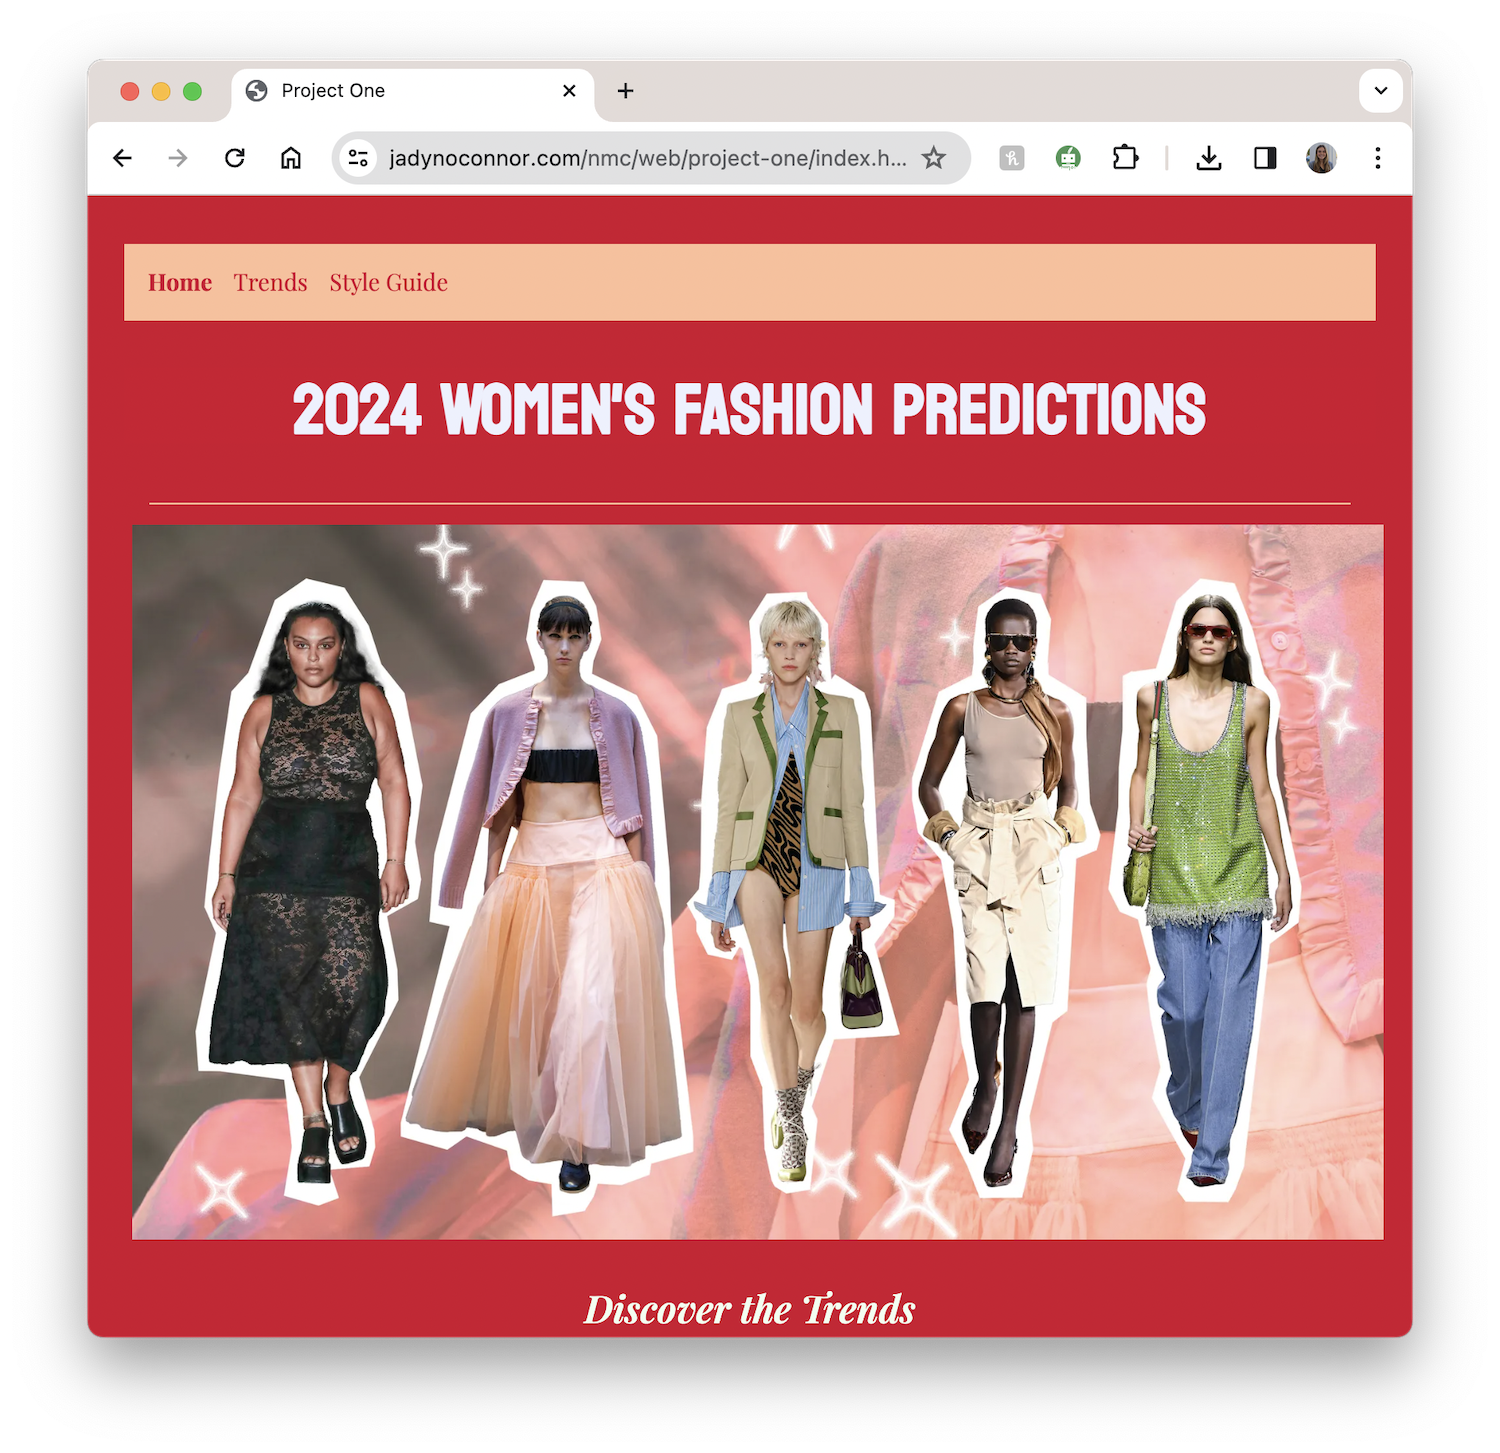
For our first project, we learned the fun and the tricky parts scripting a website using languages such as HTML and CSS. I chose to make my website about the fashion trends and style inspiration for 2024. Have a look!
Skills Acquired
- The foundations of HTML that include but are not limited to semantics(head, body, main, footer), various elements like h1 and p, and adding/editing images.
- How to use CSS style sheet alongside HTML to change the look of a webpage.
- How to locate and debug an error by using the inspect tool to see where I went wrong with my code.
Struggles Faced
- On the style inspiration page, I struggled with aligning images that had different proportions in a way that looked cohesive together. With the help of Free Code Camp, I was able to edit the padding and border
- I couldn't figure out how to add the hover selector to my header text and shape it so it looked how I wanted it too.
- Every time I'd edit the background of my header, it was either too small or too big. After googling and looking around on Free Code Camp, I found my error and was able to fix it.
Things I'm Proud of
- The overall aesthetic and look of my website.
- How I was able to arrange the images on my style inspiration page to look clean and cohesive after struggling for a good amount of time to fix them.
- The qualitative elements I added such as italicizing words, adding captions, lists, and fonts.
Things I Learned
- Lots of patience when I kept running into coding errors and had to go back through my code line by line to see where I went wrong.
- Styling text with hover effects, fonts, sizing, and colors to take a webpage from boring to interesting.
- The importance of the CSS box model like padding and margins when adding various elements like images and texts.
Project Two
 View Project Two
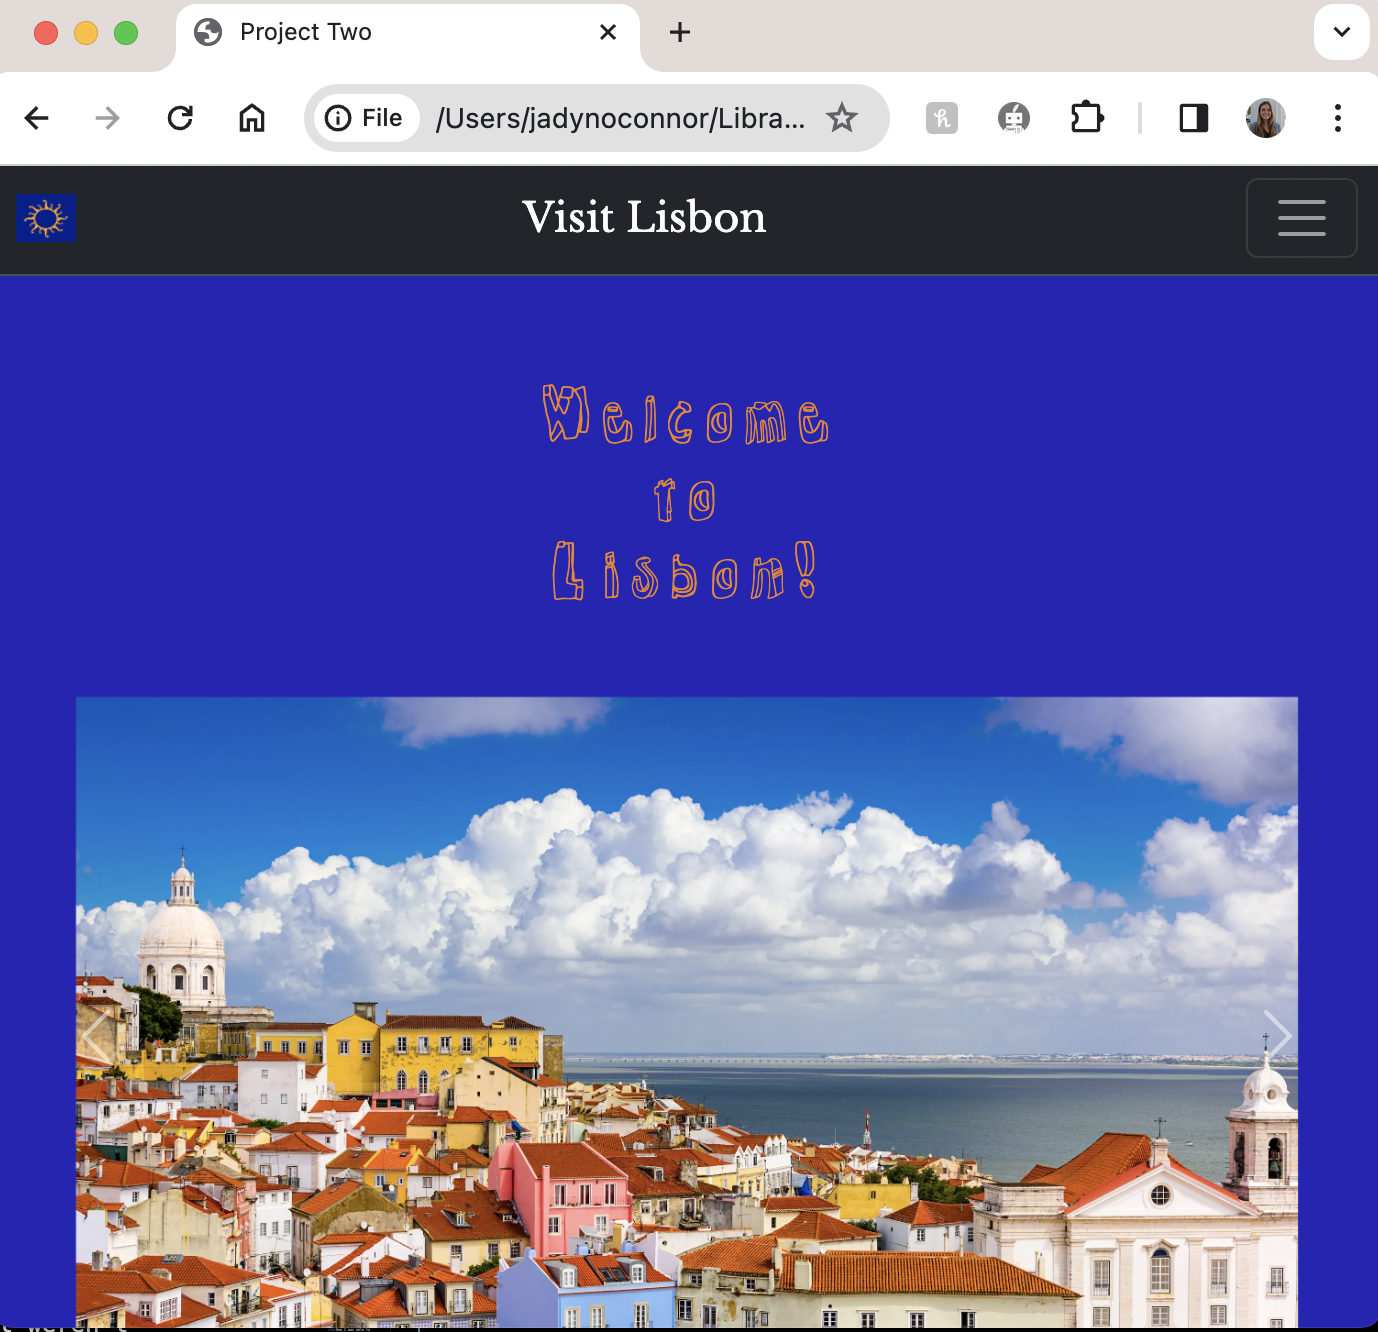
For our second project, we learned Bootstrap in three different ways: Bootstrap basics, a Bootstrap theme, and personalizing the Bootstrap theme. The end result was a combination of everything I have learned throughout creating both panel one and panel two. Have a look at each!
Skills Acquired
- Creating a responsive website: I know what containers, rows, and columns do in the grid system and how to adapt them to various screen sizes like mobile or desktop.
- Bootstrap components like buttons, nav bars, and carousels that amplify the look and use of a website.
- Personalizing a theme to make it my own: Using Bootstrap made themes, I know now how I can create and upload my own custom CSS file to redesign and customize premade themes the way I want to.
Struggles Faced
- When adding a background color for each container, I noticed it wasn't filling up the entire page. I couldn't figure out why until I asked for help, which we were then able to see that my carousel was essentially floating in space (it wasn't a part of a container). Once that detail was fixed, my background worked properly.
- When editing panel three's custom CSS, there were certain section elements like Where to Stay that weren't responding to my new changes - it was like my CSS couldn't override the original style sheet. I used the inspect tool to see that my CSS was there, it was just crossed out. I moved the section elements higher up on my CSS sheet to see if it changed anything, which that seemed to do the trick. I assume it was so much lower on my sheet that the website couldn't read it as important.
- In the beginning, I had a hard time grasping the grid system concept - containers, rows, and columns. With all the divs, I kept getting confused with what went where. I didn't understand what col 12 meant or col 6 for example, and then, col-lg-12 or col-sm-6. I had to YouTube explanation videos to get a better understanding. But the more I played around with different columns and rows, I can proudly say I know what col 12 means.
Things I'm Proud of
- Creating a responsive website essentially from scratch: while I did use Bootstrap componenets such as a nav bar and carousel in panel one, I learned how to edit them to fit within the style of my webpage. In the beginning, I struggled with understanding the grid system, but once I was able to figure it out, I created sections with various rows and columns for my content that respond to different screen sizes - this I'm proud of.
- Even though this is only project two, I feel much more confident in both my HTML and CSS abilities and have extended on my current knowledge with newfound skills. Now with Bootstrap, I can incorporate more complex and personalized features within my webpages in the future.
- The functional components: Integrating functional components such as navigation bars and buttons seamlessly into my webpages. I was able to include interactive elements that enhance user experience. Throughout this entire process, I've had to pay close attention to detail as I shift and realign content accordingly. I had to ensure when I changed code that it was still responding correctly to fit the desired screen size.
Things I Learned
- Responsive design principles: with Bootstrap, we took what we learned from project one (basics of HTML and CSS) and combined it with Bootstrap to create a responsive website - websites that look and function well across different devices and screen sizes. This is where Bootstrap's grid system came into use, creating flexible layouts that adapt easily.
- Bootstrap's specific HTML structure: it still includes semantics like head, body, main, and footer, but now we use divs to create sections, containers, rows, and columns amongst other elements. This helps keep each section's content orderly and aligned on the webpage.
- Because we are working with so many divs in Bootstrap, the content begins to blur together. I learned utilizing sections and using id to label each section. This is especially helpful when using CSS to edit specific elements, like h1 for example. I don't always have to create classes but can instead use the id function to change that specific h1 element without changing any others.
Project Three
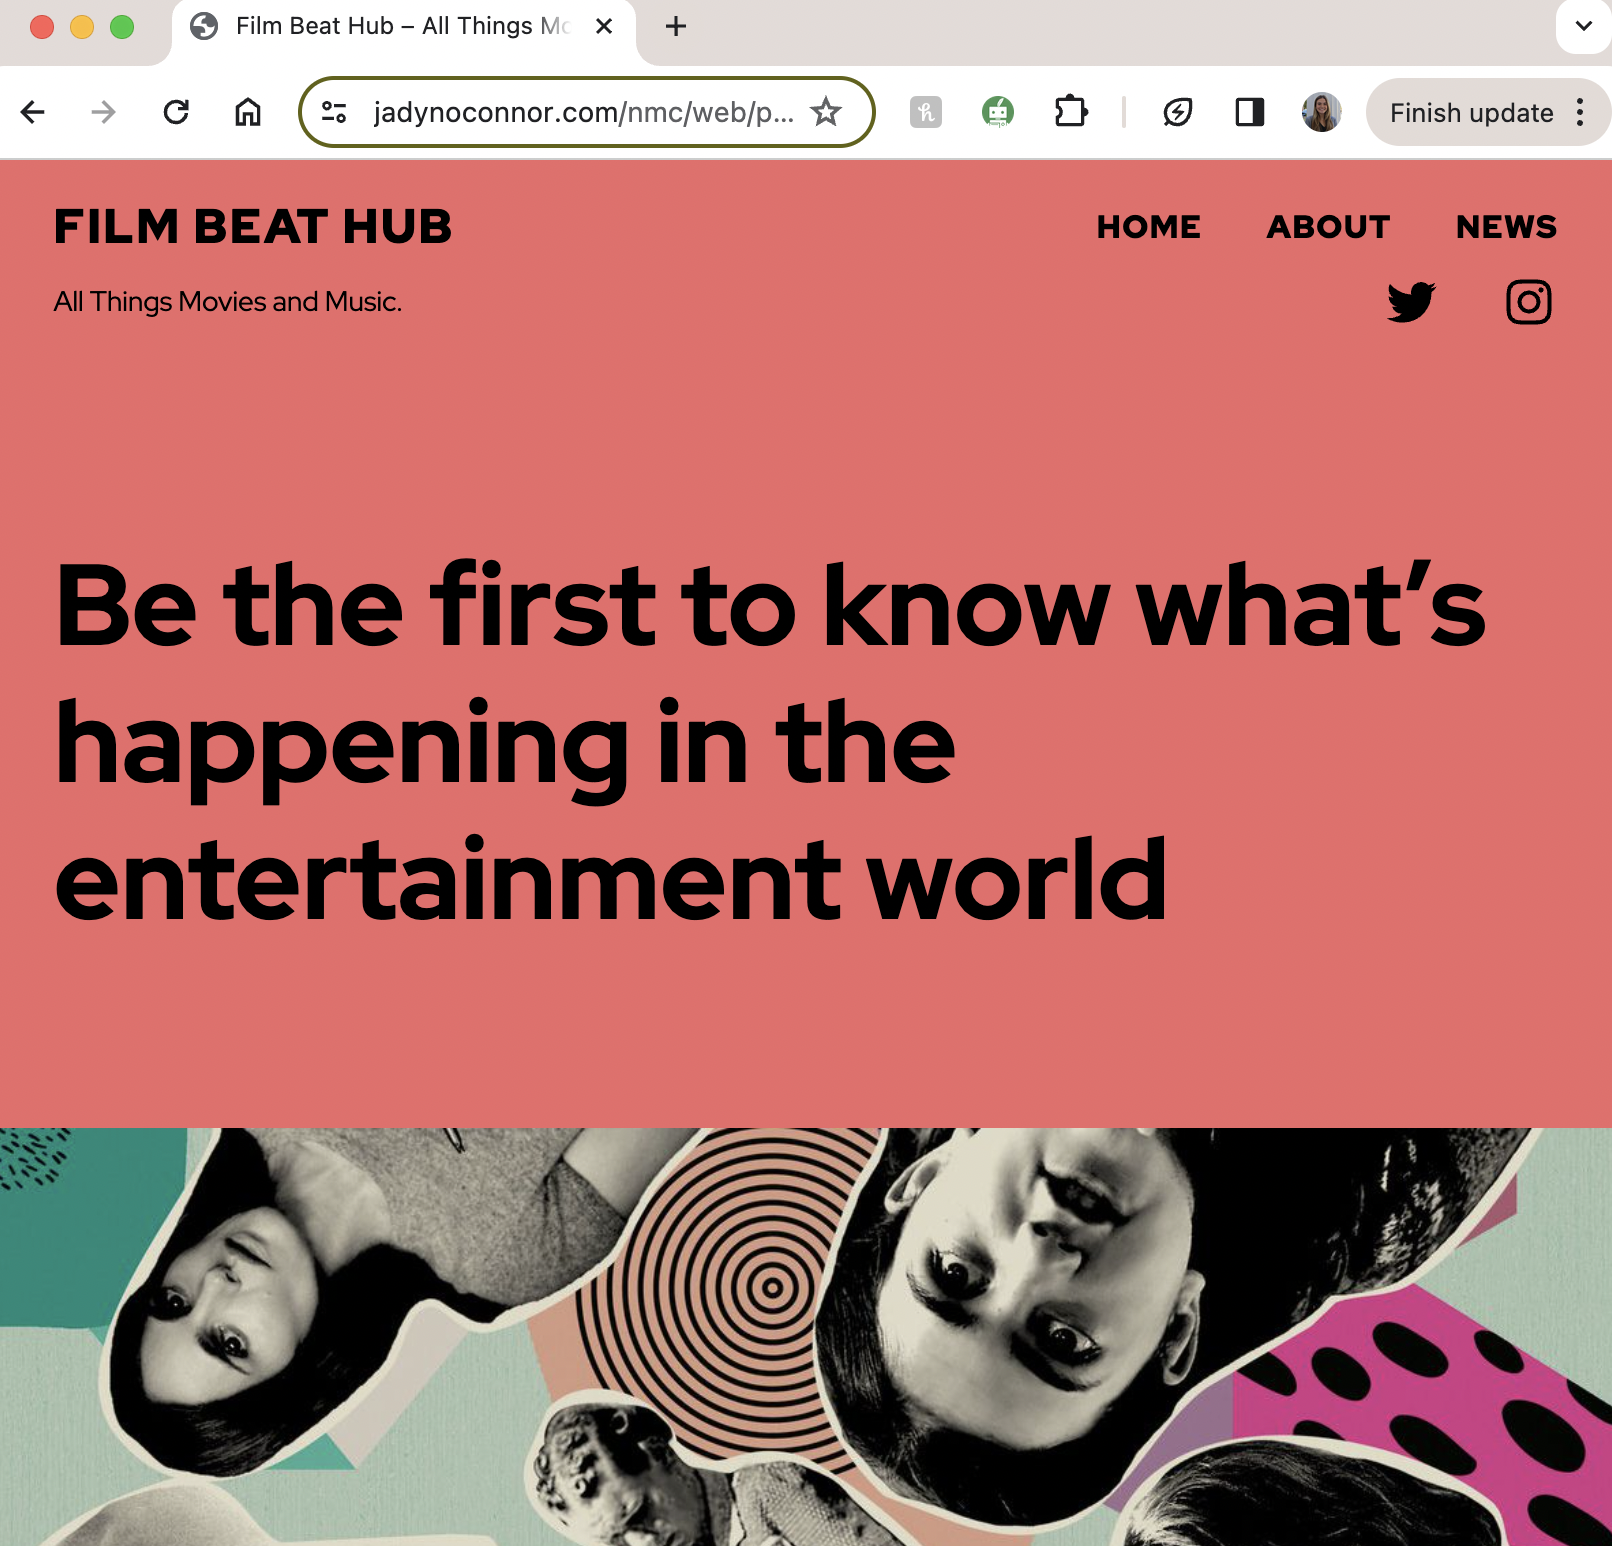
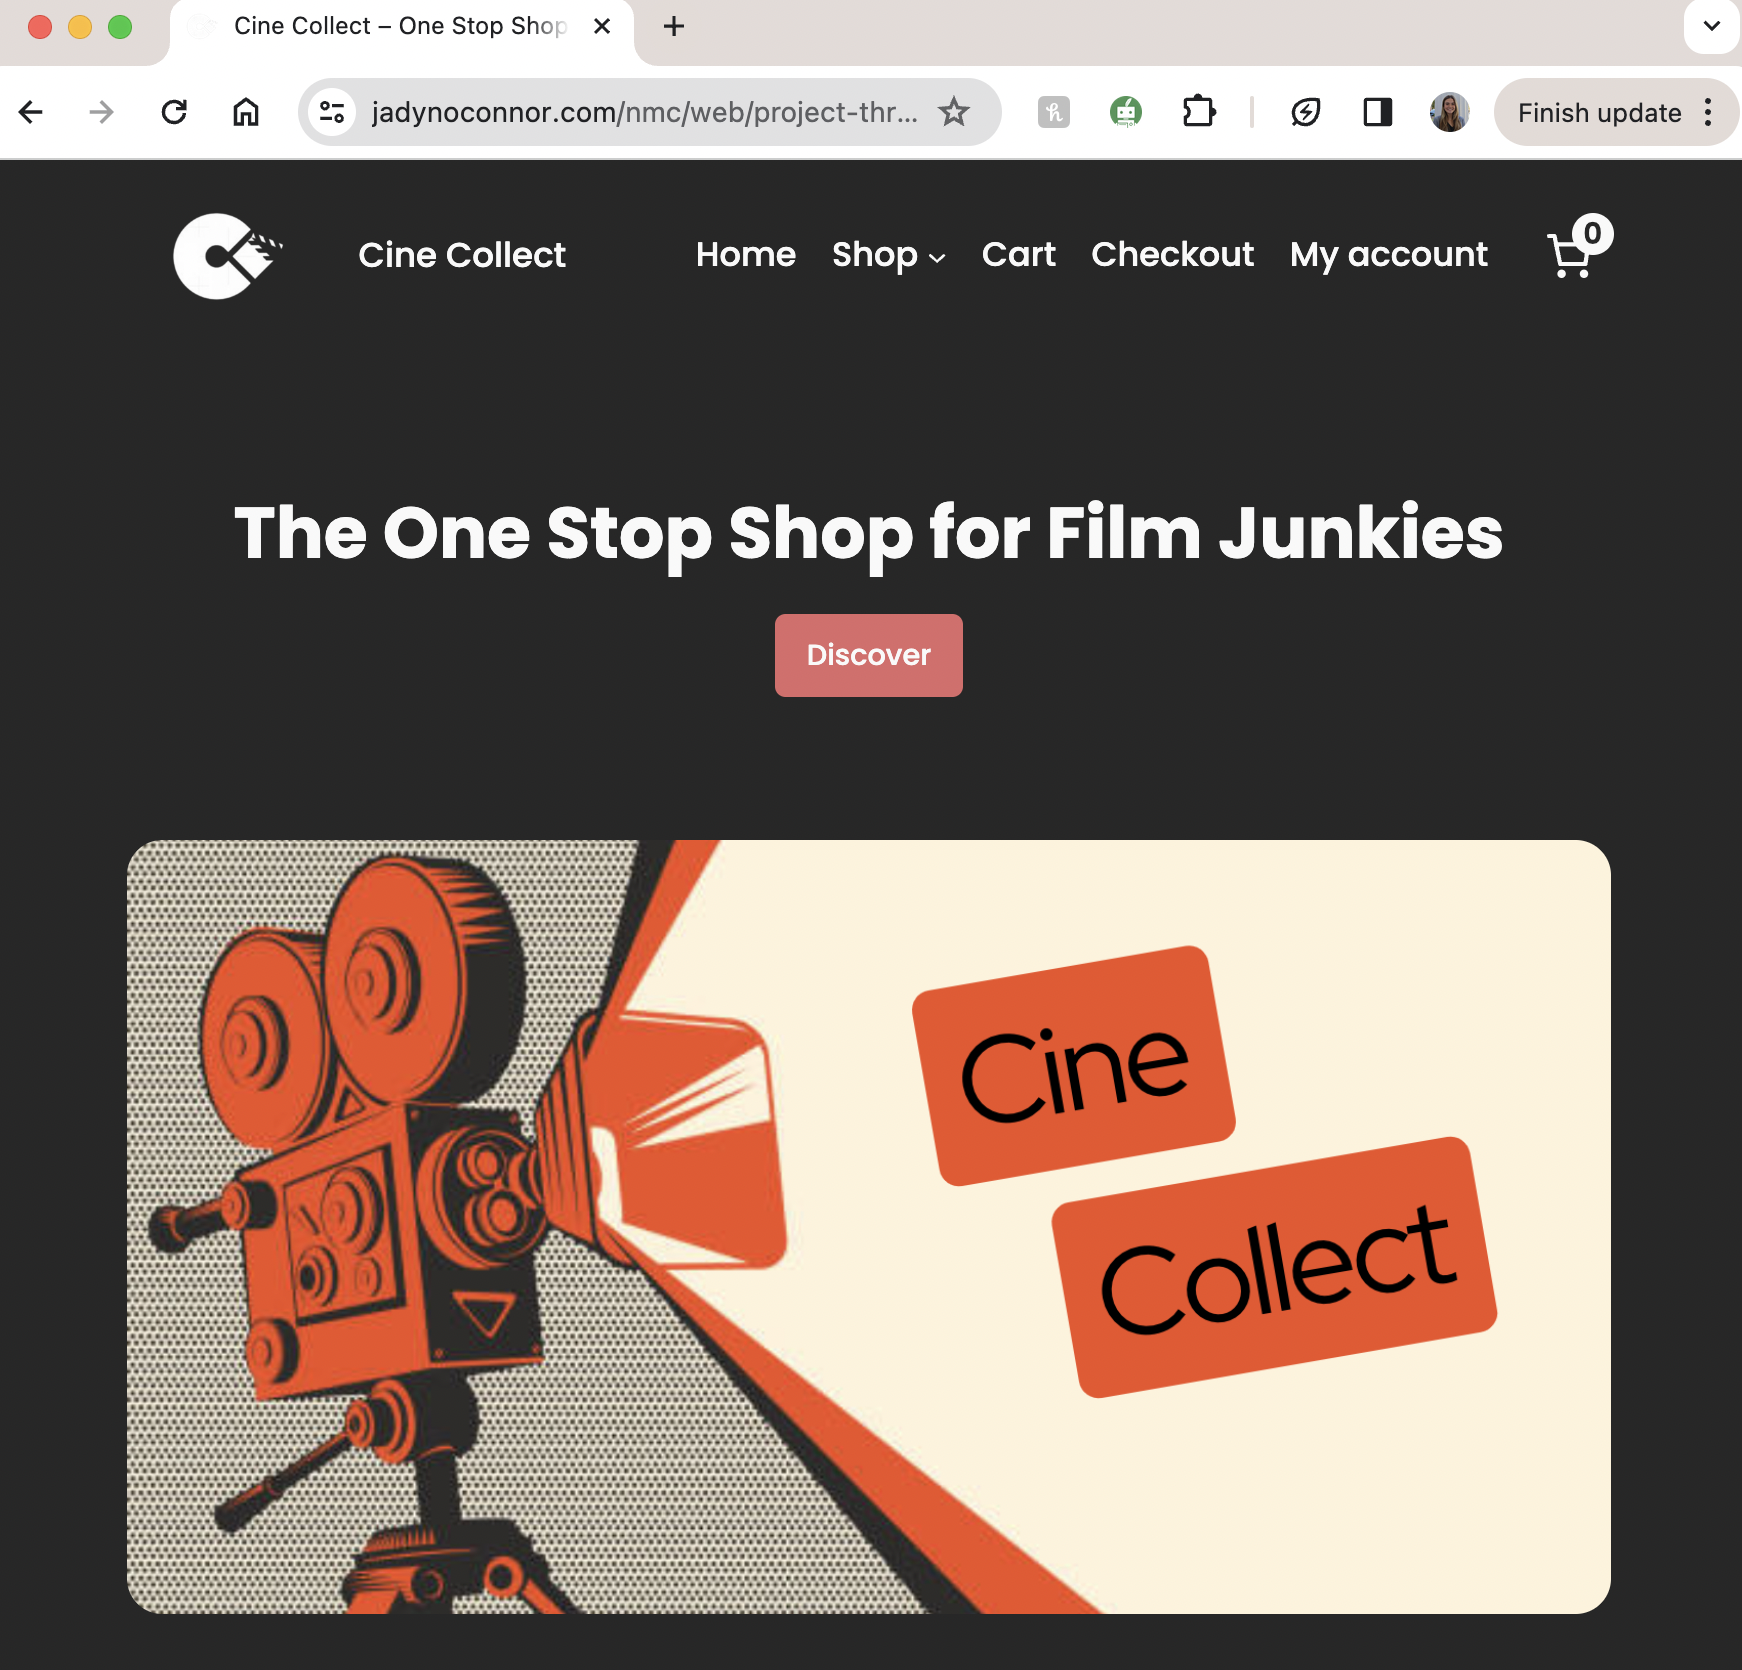
For our third project, we learned WordPress, from full site editing to utilizing different plugins. We were tasked with building two different sites: a content site and a commerce site. For my content site, I created an entertainment news blog with articles about current music and movies. For my commerce site, I created a movie merchandise store with products ranging from posters to records. Take a look at each!
Content Site
 View Content
Skills Acquired
- How to use blocks to group content with rows and columns and stack different elements together.
- How to create WordPress posts and connect it with a page for them to be displayed. I can even create featured posts and display them using various premade patterns.
- How to create WordPress posts and connect it with a page for them to be displayed. I can even create featured posts and display them using various premade patterns.
Struggles Faced
- I struggled with customizing specific themes. It took a few tries to find a theme that had the elements I wanted but also had templates I could edit. The first few themes I tried were stubborn and locked, where I couldn't fix a particular feature.
- I struggled to find where I could add an underline to links.
- I could not figure out how to link my blog homepage to the homepage I made in the nav bar, and how to link my articles/posts to my news page. The homepage was its own separate, blank page, but if I'd click the site title it'd take me to the blog homepage.
Things I'm Proud of
- I'm proud to have integrated various plugins like WP Super Cache and WPFront Scroll Top to enhance my website's functionality.
- I'm proud of my blog homepage where I incorporated different blocks and elements, even embedding a spotify playlist of Billboard's current hits.
- I'm proud of all of the articles I created. I could've stopped after fleshing out 3, but I wanted to create the full experience of a news blog website with articles I'd actually want to read as an user. So I sourced five current movie articles and five current music articles, fully written out in their prospective categories.
Things I Learned
- I learned editing a single block element and a theme's block element. Premade themes have CSS already in place where a block has specific colors or typography, so it was a learning curve figuring out to how to override that. For example, a theme can set h2 to always be black in a certain font.
- I learned how important WordPress plugins can be. I noticed that I had a lot of content on one page and you'd have to scroll all the way back to the top to get back to the nav bar. I found a plugin called WPFront Scroll Top that enabled an arrow button to appear when scrolling down, and you click it when you want to go back up.
- I learned how to incorporate various multimedia elements such as images, videos, and embedded media that enriches the content of my blog and each of my posts.
Commerce Site
 View Commerce
Skills Acquired
- Similar to creating posts for the content site, I know how to create products utilizing the WooCommerce plugin. I can add variations of the product like sizing and colors, along with pricing and categories.
- How to link categories across the website for a more efficient user experience. When you go to shop products, you don't have to look through everything, but rather can click through each category of products.
- How to add various sections and features within different blocks, and editing the theme's templates.
Struggles Faced
- I struggled with customizing the theme I used. The theme had a style set across various blocks, and when I added a product block the color was blending in with the background. The background I had changed, but I couldn't figure out how to change the block's color. I changed the site's style to reflect the design I wanted, and it seemed to do the trick.
- I struggled with spacing elements with margins and padding. There were times I couldn't get the content or products to look evenly spaced.
- I couldn't figure how to add and edit variations like sizing the way I wanted it. It took a minute of playing around with the individual product variation to get a grasp of the concept.
Things I'm Proud of
- I'm proud of my overall layout as I took inspiration from a movie poster website that I liked. I was able to take advantage of customizing the color scheme and uploading my own font to create a design I loved and felt reflected an actual movie merchandise online store.
- I'm proud I was able to utilize a new skillset with WordPress, even if it's not directly altering code. WordPress is a tad bit easier, and I'll be able to continue to use it to create other sites like my portfolio.
- I'm proud of how I utilized the WooCommerce plugin across my site, even creating a coupon code that only applies to a specific category of products, and works at checkout.
Things I Learned
- I learned how to display products using different patterns on my homepage and even editing them on the shop page.
- I learned, at least for me, to start with creating and editing my products and then begin to redesign my layout and features. It makes the process flow better to have my products all right there, so I can create a cohesive design.
- I learned that if the block isn't responding to any of my edits that it most definitely is a theme/style/template already set in to place, and I'll have to edit from the source which is the site's set styles.
Final Project
 View Final Project
For my final project, I chose to do a speculative redesign on Suzanne Collins's official website using WordPress. I took what I learned from my previous projects, along with utilizing various plugins, to create a more visually appealing user experience. Take a look!
READ ABOUT THE PROCESS BELOW
View Reflection